How to Prepare Garden Soil for Planting
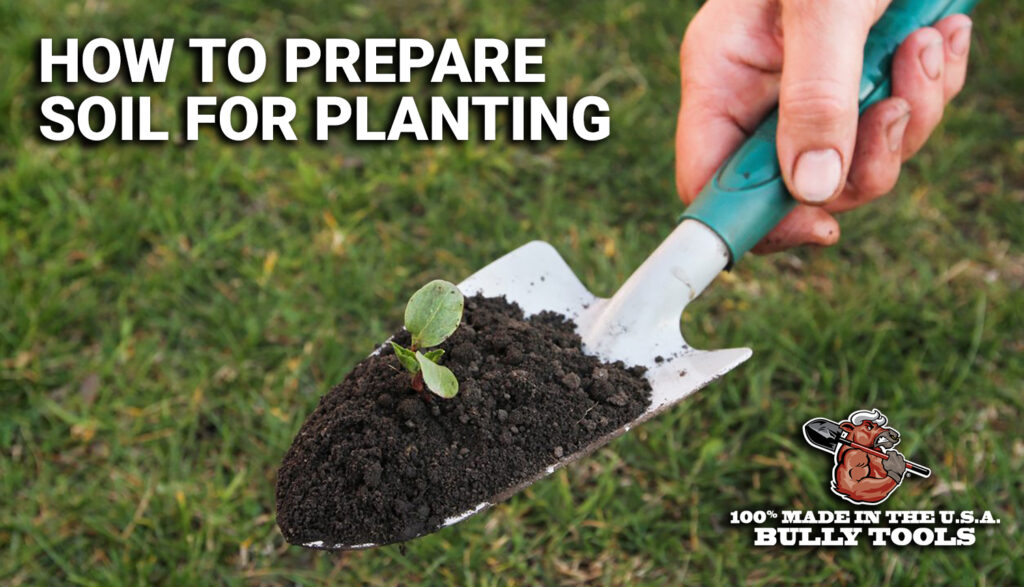
Having healthy soil is the foundation of all good gardens. Your plants interact with their environment in so many ways, starting at the roots! Ensure that your soil has what it takes to produce beautiful plants and a long harvest by properly preparing it this year.
Your backyard’s soil type will affect the overall health and longevity of your plants’ bloom or harvest including: how well water drains through it, how much oxygen your plants’ roots will get, how well your soil will hold nutrients, how quickly the soil will erode, etc. So, it is all but essential for you to have the right properties and ground conditions to grow in.
WHY DO I NEED TO PREP MY SOIL?
Over the winter, your backyard becomes dormant. If you live in a cold-winter region (like us!), we know you get a snowstorm or two, and this winter, we all got saw our fair share. But throughout winter, the top layers of your soil will freeze. Soil becomes deformed when it freezes, but the freeze-thaw cycles that tend to occur in the spring allow for thawed organic material to fill cracks in the soil left by it freezing.
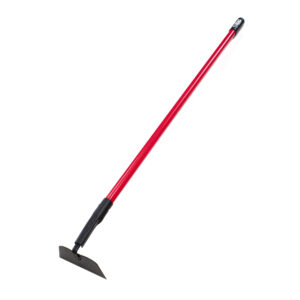
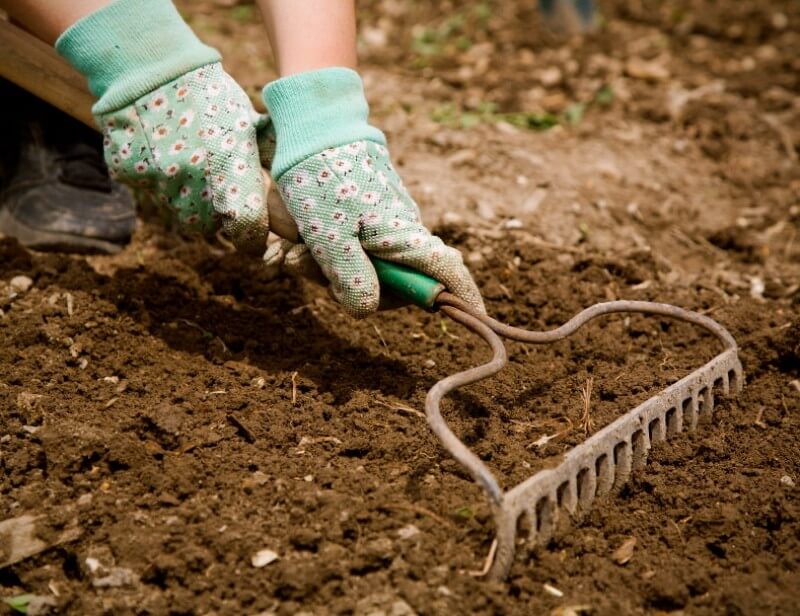
Once warm weather rolls back around, it’s important to till your soil. To do this, we recommend you use a garden hoe or broadfork. You can use whichever variety of garden hoe you have, but weeding hoes like draw, half-moon, and warren variations are perfect for light cultivation and can cut and pull weeds from the roots while you work.
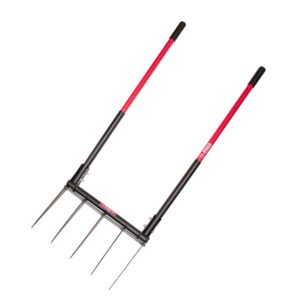
However, a broadfork is a better tilling alternative if you have a lot of ground to work. Broadforks have two pole handles that connect to a row of steel tines, and they operate, essentially, as a manual rototiller. To operate, simply pierce the earth and pull the tool back using your body weight. It’s practically effortless to use and loosens your soil without flipping or mixing it too aggressively which preserves the ecology underground.
It’s no secret that we prefer hand tools to those operated by oil and gas, but the benefits far out way the drawbacks. Sure it takes a bit more effort to prep your soil this way, but the earthworms will thank you. Plus, a summer body without the cost of gym membership or gas, oil, replacement parts, and maintenance? Sounds great to us.
3 BASIC STEPS FOR SPRING SOIL PREP
Before we get into anything too specific, here are the basics for preparing your garden soil for planting.
1. Clear out any rocks and debris from your soil.
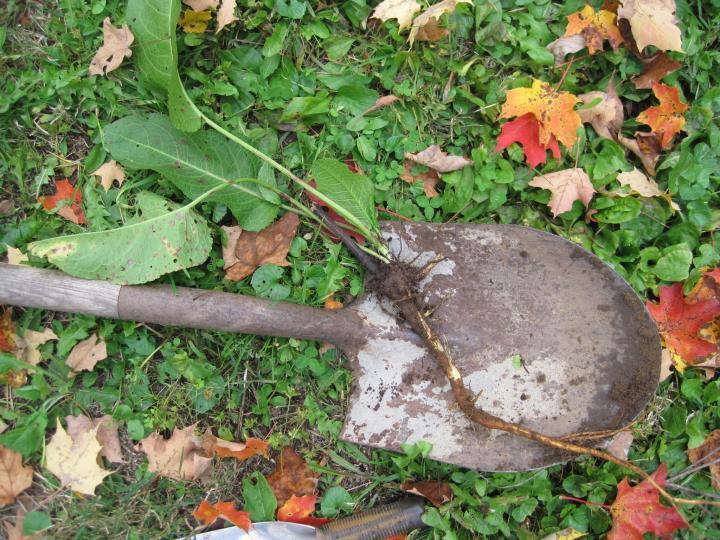
To start, it’s essential to have a clear, clean patch of land for your garden. If you’re beginning your first garden, cut through and remove existing grass with a spade.
If you’re a seasoned gardener sprucing up your plots, make sure that the area is free of rocks, sticks, roots, or any debris.
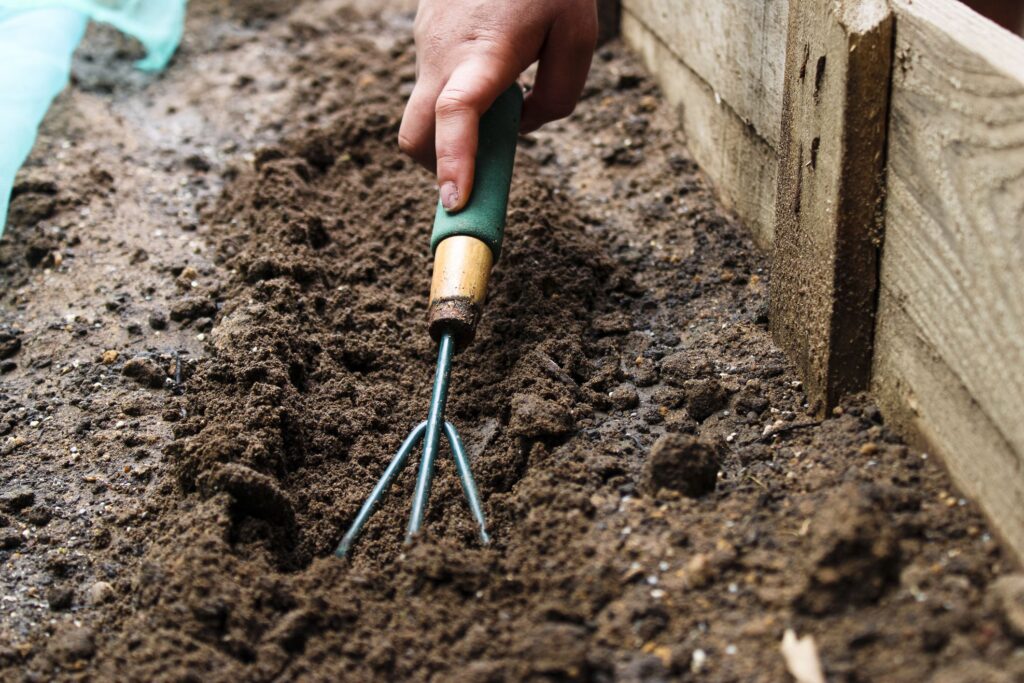
2. Next, loosen the soil.
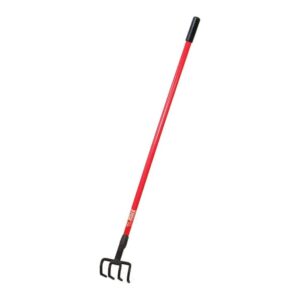
Next, use a garden hoe, broadfork, or your favorite tilling tool to loosen the top 8 to 12 inches of soil so that when your plants’ roots sprout, they’ll have space to grow.
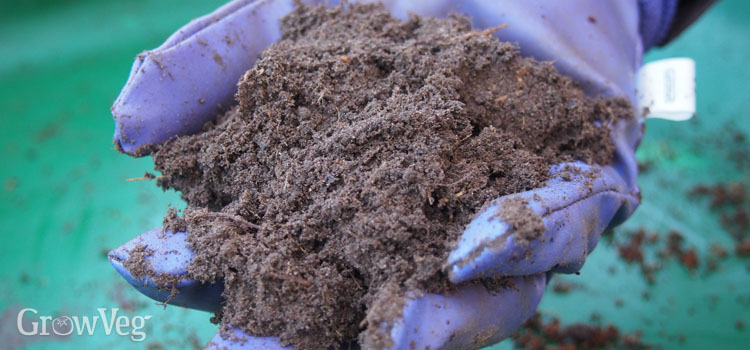
3. Finally, add organic material.
Spread at least 2 to 3 inches of compost or manure on top of your soil. You can either mix the material into the soil or leave the compost on top to preserve soil structure and avoid pulling up weed seeds. If you’re worried about choosing the latter, don’t worry – worms and other underground insects will pull the nutrients through eventually. Be sure to add manure or compost on a day when your soil is moist (not wet!).
Inorganic material like fertilizer, lime, or sulfur should only be added if recommended by a soil test or if determined through additional research on your home’s specific type of soil and the conditions preferred by your plants.
WHAT’S MY BACKYARD’S SOIL TYPE?
The texture of your backyard’s natural soil will have a big impact on the longevity of your plants’ maturity, the quality of flowers or vegetables that they sprout, and the amount of water that they receive. Every region across the U.S. has a soil type that is dependant on the area’s geography, and you can identify the different types of soil by their different feels and unique appearances.
Soil is made up of minerals, rocks, organic matter, and organisms – both dead and alive – that collect, degrade, and release vital minerals back into the earth. It’s true that the best soil to plant in comes after years of maturation, especially since your home’s natural soil will mix with any amendments like mulch, topsoil, fertilizer, plant material, or compost that’s added to it. The main three textures of backyard soil can be broken down based on their main rock particles: clay, silt, or sand.

CLAY SOIL
Clay soil has the finest particles of these three types and is the slowest to absorb and drain moisture. In the summer, clay soil tends to harden significantly and form cracks, while in the winter, it holds water well.
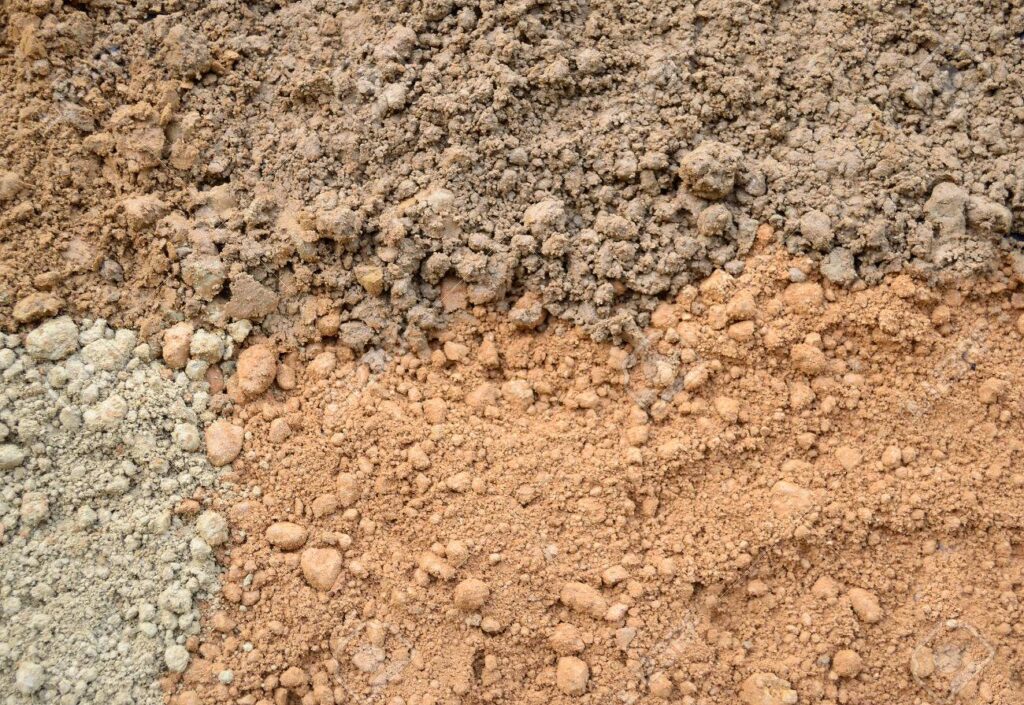
SILTY SOIL
Silty soil has a floury feel. This kind of soil holds moisture and nutrients well, but because the particles are so light, silt is more prone to erosion.
SANDY SOIL
Sandy soil drains quickly and therefore doesn’t hold water or nutrients well. It is less likely to erode during summer rainstorms and warms up quickly in the spring.
So, what are the best soil conditions to grow plants in?
Ideal soil texture would consist of equal parts sand, silt, and clay – a combination known as loam!
Loam is perfectly balanced soil and holds moisture but drains well, allows oxygen to reach all parts of plants’ roots, and is rich in organic matter. It’s fertile, easy to work, and will promote healthy plant growth. If you’re unsure of your soil’s health, you can send a sample of your soil for testing.
A soil test can tell you if you need to adjust your soil’s pH, what essential nutrients are missing, and the main rock found in your soil.
HOW TO IMPROVE YOUR SOIL
You might have to amend your soil’s natural properties to provide the right environment for the species of plants you want to grow. Soil types vary from region to region, and your state can have all three of these soil types or mixtures of them all across it. If you’re curious about what type of soil you have and what you can do to amend it, send a sample for a soil test.
Soil tests identify your soil type, its pH level, the essential nutrients missing from it, and provide amendment and organic material recommendations for you try. You can purchase an at-home test online or at gardening or home improvement stores, or you can send it for sampling.
Knowing your home’s soil type and what to add to it to accommodate the conditions needed for your plants is essential. Some fruits and vegetables require specific acidity (or lack of) to properly grow. If your soil is too acidic, you will have to adjust your soil’s pH. This process takes time – it can take up to a year to see the best results – but a soil test will provide you with all the right measurements of garden lime and other products needed to fix it. If your soil needs to be more acidic, add powdered sulfur to lower its amount of alkaline.
However, do not add lime or sulfur just to add it. Research is your best friend. You only need to adjust your soil’s natural properties if the plant you want to grow requires it. You can do more harm than good if you amend the soil and then end up growing plants that prefer a different pH level.
As far as other amendments, there are organic and inorganic additives that can also be used to improve the health of your soil. Organic materials include compost, manure, plant matter, and topsoil. When added, this type of amendment will break down and decompose over time. It will then release nutrients slowly into the soil and provide food for underground organisms. Inorganic materials include lime, sulfur, and most commercial fertilizers. These should only be added if determined by a soil test, but products like Miracle-Gro Plant Food are very popular among seasoned planters and can be beneficial in many gardens.
WHERE CAN I GET A SOIL TEST KIT?
Soil tests identify the pH of a soil sample as well as the levels of nitrate-nitrogen (NO3), phosphorus (P2O5), and potassium (K2O). They can also identify ways to adjust or amend your soil to meet your planting needs and provide you with the necessary measurements.
You can purchase an at-home soil test kit online or send a sample to an agricultural service or university lab for testing.
The accuracy of at-home test kits varies by brand, but the American Society for Horticultural Science tested five commercially available colorimetric soil test kits and found that La Motte Soil Test Kit and Rapitest lead the pack. They were determined to be, respectfully, 94% and 92% accurate when compared with a standard laboratory analysis of that same sample.
If you want guaranteed accuracy, you can send your soil sample to a local or regional lab. Many colleges and universities offer this service, or you can research a garden/agricultural center that accepts soil samples.
As far as the other tools to conquer your soil preparation are concerned, look no further than 100% Made in the USA Bully Tools for your shovel, hoe, and cultivator needs. Shop our full selection of top-grade, high-quality lawn and garden hand tools here.