4 More Home Improvement Projects for the Fall

Autumn is the perfect time to accomplish all of those projects that have been piling up on your to-do list.
Keeping up with the maintenance of your appliances and ensuring that your property is ready for the winter are essential to having a fully functional and comfortable home come those cold months. Plus, the cool temperatures allow you to work outside without the blazing sun on your back. So, don’t push off those home projects any longer, get started today! And if you’re looking for ways to prep your home for winter, we’ve got you covered:
1. PREP YOUR LAWN AND GARDEN FOR WINTER
DIFFICULTY: BEGINNER
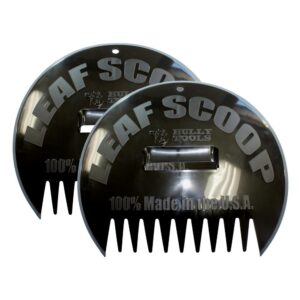
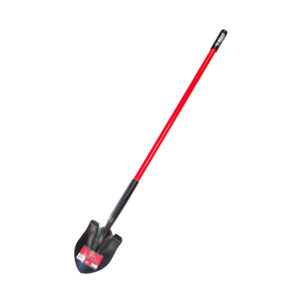
TOOLS: RAKE, SPADING FORK, SHOVEL
SUPPLIES: TARP, GARBAGE CAN, GRASS SEED, FERTILIZER, BURLAP (OPTIONAL)
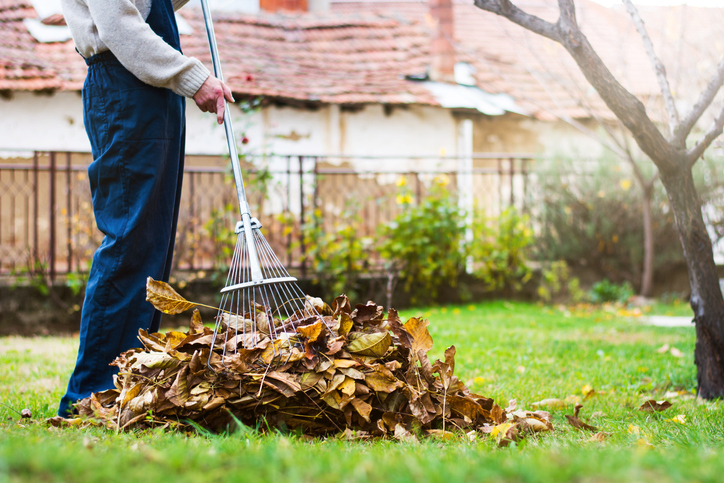
With summer dwindling down, it’s time to start thinking about how to prepare your lawn for autumn. Autumn is the best time to treat your grass because the cool temperatures allow the perfect environment for grass to recover, rejuvenate, and prepare itself for winter. If you want a lush, green lawn come next spring, it’s vital that you take care of it now before its dormant season. Here are a few ideas:
- GET RID OF LEAVES, STICKS, DEAD ANNUALS, AND OTHER DEBRIS – Dead branches, annuals, and leaves can clutter your yard in the autumn and be and can accumulate rapidly if left too long. While the dead leaves covering your lawn can be pretty to look at, your grass would prefer not to be covered. Some leaf accumulation is okay – about 20% coverage should not do any extreme damage – but a layer of leaves prevents direct sunlight from reaching the soil and moisture from evaporating. The real danger of letting leaves sit for too long is grass damage or death. If those patches become snowed on and forgotten until spring, the sod underneath would surely become wet and decayed. So, if you don’t want to have to replant grass every spring, make sure you keep up with the collection of leaves on your property.
- SEED BARE GRASS SPOTS – Autumn is also a great time to reseed bare grass spots. The cause could be anything: poor soil conditions, insect and grub damage, excessive foot traffic, or dog urination in that one area, but the area is not likely to regenerate on its own. Make sure to reseed on moist soil (like a day after it rained); it will be much easier to work with. To reseed, first rake the area to remove debris. Next, loosen the soil and amend it by adding at least 2 to 3 inches of compost or loamy soil to the bare grass patches. Mix this with the existing soil. Then, spread your seed and rake it into an even layer. Lightly water the bare spots daily, but if you’re worried that excessive heat might dry up your seed, you can cover the area in burlap to protect it from the sun. Mow whenever ready!
- AERATE – Aeration is beneficial for a lot of reasons, and if you live in a cool weather region with cool-season grass, autumn is the time to loosen it. Your lawn’s root system is shallow but wide and is comprised of thousands of intertwining roots. Aerating involves creating holes or removing small, coil-shaped pieces of soil and grass from your lawn, and this process allows new pathways for sunlight, nutrients, and water to reach your grass’ roots. By aerating annually, you will extend the life of your lawn and encourage healthy growth. ou can either rent or borrow an aeration machine, or you can use a manual lawn spike or coring aerator. If you opt for a manual corer, the soil pieces break down over and renourish the earth, while the spiking method loosens soil with less of a mess. Our Bully Tools Spading Fork is a great option for quick aeration.
- FERTILIZE – If you want to prepare your lawn for winter and prepare it to have a strong, healthy spring, you should fertilize in the fall. Fertilizers are comprised of three main nutrients: nitrogen, phosphorous, and potassium. Make sure to pick up a grass-specific fertilizer to achieve the best results. When selecting which commercial lawn fertilizer to purchase, first make sure that it has a NPK ratio that suits your grass species. Then, you have to decide between organic and synthetic fertilizer – and between liquid or granular formula.
Find out other ways to prepare your lawn for fall and learn more about these four tasks by reading our ‘How to Transition Your Lawn from Summer to Fall‘.
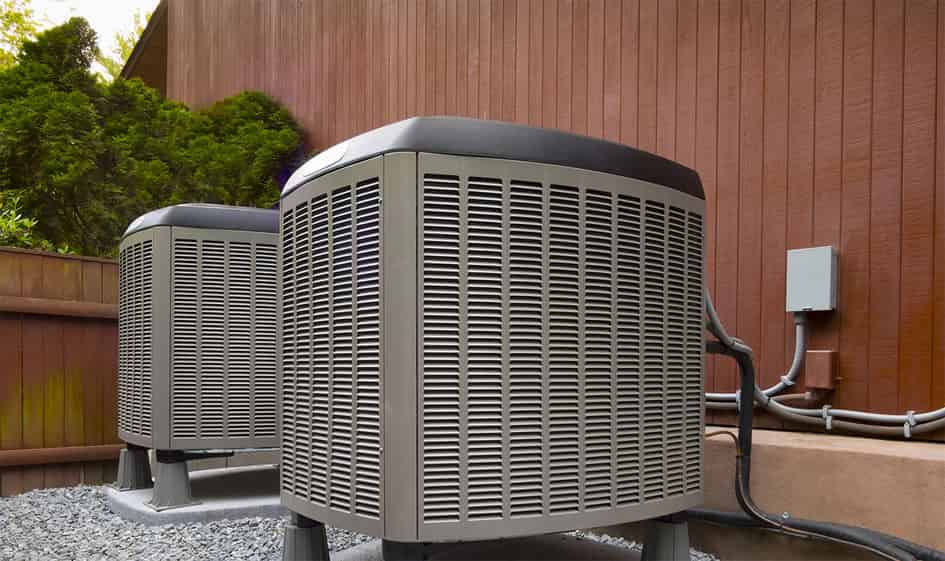
2. WINTERIZE OUTDOOR A/C UNITS
DIFFICULTY: BEGINNER
SUPPLIES: A/C UNIT COVER (PREFERABLY WATERPROOF)
If you have an outdoor air conditioning unit and your region experiences cold, snowy winters, you need to winterize it to ensure that it performs its best come next summer. Heating, ventilation, and air conditioning units (commonly called HVAC systems) are very expensive to install and replace, but you may deem one necessary to maintain a comfortable temperature inside your home. When these units come into contact with frost and snow, they can break, so make sure to winterize your unit.
Very simply, outdoor A/C units work through a series of sensors in two units – the outdoor unit and the indoor air duct unit. The thermostat, typically located on the inside of your home, can sense when the temperature needs to be adjusted or adjusts based on the temperature you set it to. According to Carrier, a leading company in HVAC, refrigeration, and fire and security, when the air inside your home is warm and you adjust your thermostat to release cooler air, the existing warm air in your home rises, and a fan sends the air through filters to the unit’s refrigerant coil. Here, the air is cooled and is transformed from a liquid state to a gas. The gas travels through the duct system and is released into the A/C unit outside. There, the gas is pushed to the outdoor unit’s refrigerant coil where some of it is released into the atmosphere and some is transformed back into a liquid and then is passed back into the home.
Note – if your HVAC system has a heat pump do not winterize your unit. A unit with a heat pump will heat your home in the winter, and if you’re unsure if your HVAC has a heat pump, check the model number – units with a heat pump have the letters ‘HP’ in the number.
Modern outdoor A/C units are tough enough to withstand winter weather without a cover, but if you want to ensure that it will last as long as possible, even when not in use, you can purchase a cover for at least the top portion of the unit. This will protect your air conditioner from clogging or functionality issues caused by dust, debris, leaves, and precipitation. Additionally, when dirt collects on top of your unit, you risk worsening your air quality once you turn the unit back on.
When shopping for a cover, choose a waterproof option that will fit the dimensions of your unit. You can opt for a cover that simply protects the top portion of it, or find a cover that will lay over the sides as well. If you choose the latter option, try to find one that covers appropriately without touching the ground. Some HVAC professionals advise against getting a full cover option because it will create a cozy home for critters and winter rodents, but if the cover doesn’t touch the ground, no need to worry.
Once the consistently cold weather sets in and you have no need for your unit, turn off the circuit outside, cover it, and get ready for fireplace season.
If you notice that your unit needs to be repaired, contact your HVAC company, and they will send out a licensed professional to fix it. You shouldn’t try to do any repairs on your own as it can be dangerous or you could do something to inadvertently void your warranty, but you can surely winterize it yourself.
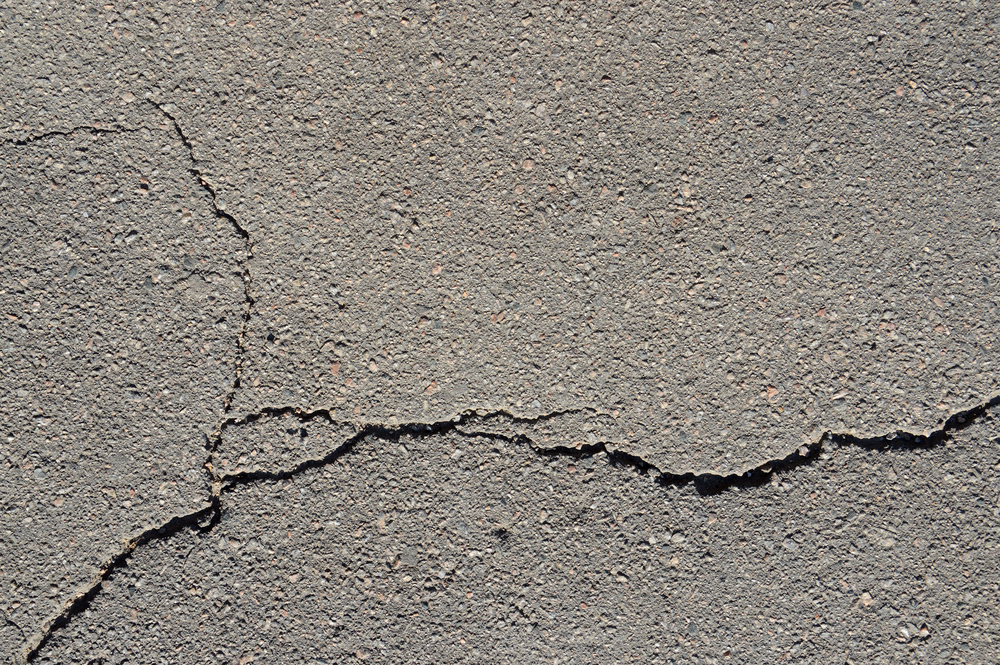
3. REPAIR DRIVEWAYS AND SIDEWALKS
DIFFICULTY: BEGINNER
TOOLS: CHISEL, PUTTY KNIFE, CAULKING GUN
SUPPLIES: CAULKING
It’s very common for cracks to appear in your driveway or sidewalks, and you can quickly fix these eyesores yourself. Changes in weather cause cement to expand and contract, causing cracks.
First, start by scraping out any weeds, dirt, rocks, or debris in the crack using a small tool like a chisel. Lift out any broken cement pieces, and then use pressurized air or a vacuum to further clean the crack.
There are two types of cracks that you will have to deal with – cracks that run horizontally and cracks that run vertically on a slope. If your driveway is flat (has no slope), you can use a self-leveling caulk. For cracks that run up and down the grade of your driveway, use a standard caulk. The repair process is the same for both types, but it is important to use the right type of caulking to achieve the right results.
Cut off the top of the caulking tube, pierce the opening (caulking guns come with a piercing tool), and place the canister in a caulking gun. Place the tip of the caulking canister in the crack and squeeze the handle of the gun to expel the caulk. Continue along until the entire fracture is filled. Self-leveling caulk sinks, so you may have to go over the crack again to reach the surface.
For cracks that run vertically up your driveway, opt for a standard caulk. Self-leveling caulk is not useful to fill cracks on a slope because it will slide down and pile up at the bottom of the grade. Standard caulk will simply fill in the areas that you need to be filled.
After applying the caulk, use a putty knife to smooth the caulk. While this is not a necessary step for the self-leveling option, feathering the caulk with a putty knife will give it a cleaner and more finished look.
There are a lot of different formulas of caulking, so it is easy to get overwhelmed trying to find the best for your project. Caulking is a type of sealant that can be used to fill cracks in surfaces outdoors, around the panes of windows to prevent water from coming inside, around the base of your kitchen appliances and bathroom toilet, along your roof, etc. Make sure to purchase a caulk specifically formulated for outdoor use and cement/masonry.
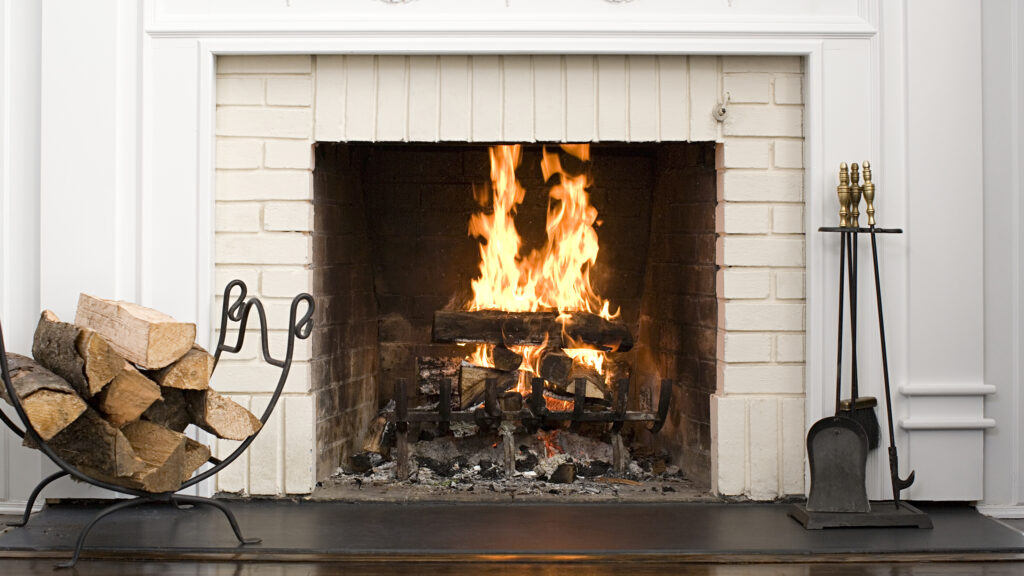
4. CLEAN YOUR FIREPLACE
DIFFICULTY: BEGINNER
TOOLS: FIREPLACE SHOVEL, FIREPLACE BROOM, PRESSURIZED AIR, VACCUM
SUPPLIES: ASH/SOOT RECEPTACLE, CLEANING SOLUTION AND BUCKET (OPTIONAL)
Calling all indoor fireplace owners – it’s almost time! Cold weather makes for fun evenings inside, and if you have an indoor fireplace, that space can be more useful than just to keep you warm. Fireplaces are natural gathering places, so make sure yours is clean and functioning before you and your family burn any fires. There are two common types of fireplaces – gas and wood-burning. Gas fireplaces are less maintenance, less expensive, and more energy-efficient than the wood-burning option. Gas fireplaces can be installed in any home with the installation of a vent pipe, while wood-burning fireplaces require a chimney.
GAS FIREPLACES
As mentioned, gas fireplaces are less maintenance than wood-burning, but that does not mean that they are maintenance-free. To clean your gas fireplace, start by making sure that the fireplace is off and cool. Check to make sure the glass door(s) are free of cracks or debris, and remove them to clean using a glass cleaner.
Once the door is removed, inspect the outer gasket. This piece comes in a long strand and is attached to your fireplace’s door. Gaskets work by creating a firm seal around the outside of the door, and depending on how often you open and close your fireplace doors, your gasket might not be in the best shape and may need to be replaced.
Next, before working on anything inside of the fireplace, turn the gas off. Take out the artificial logs and lava rocks (it’s helpful to take a picture for later so that you know how these pieces were originally oriented), and give them a good cleaning. You can run your rocks under water and lay them out on a towel to dry. Use canned air to spray out any debris from inside the logs, and vacuum or sweep out the rest of the firebox chamber. Unscrew the burner cover and clean it using canned air. Inside this compartment are the pilot light and burner; check that both of these are free of debris.
Finally, reassemble your fireplace, turn the gas back on, and replace the door. Now, you’re ready for football games, viewing parties, and toasty nights by the fire.
WOOD-BURNING FIREPLACES
Wood-burning fireplaces, while messier than gas fireplaces, add a level of comfort and coziness to your home. The feeling you get while listening to the crackling of the fire, smelling the burning wood, and watching the flames dance is unique to these traditional fireplaces. But, the ambiance does come with a price – the mess.
First, if your fireplace has a gas starter, make sure that the gas is off. A gas starter is an optional accessory to purchase with your fireplace installation, and it is helpful for people who want fires with fast ignition. However, this piece is not necessary. If your fireplace doesn’t have a starter, begin by dusting off the andirons (metal log holder) or fireplace grate and remove them. You’ll notice that the inside of your fireplace is covered in charred wood, soot, ash, and embers; cleaning it is a dirty job, so be prepared (and dressed properly) for that.
Use a small broom or fireplace shovel to scoop out the unwanted debris and dispose of it in a garbage can. You can also use a shop vacuum to really clean out that area. If after these steps your fireplace still isn’t up to your cleanliness standards, mix a solution (The Home Depot recommends combining dish soap, 1/4-cup of heavy-duty cleaner, and 1 gallon of warm water in a large bucket) and scrub the surface and surrounding stone with a scrub brush, and allow it to dry.
If your fireplace has glass doors, use glass cleaner to remove any residue. And if you’re really feeling froggy, you can opt to give your metal grate or andirons a clean and polish as well. Make sure all pieces and the inside of your fireplace are dry before you light a fire.
Autumn starts September 22nd, and that will be here before we know it. If you’re looking for a reason to spend some time outside, and you want to accomplish something while you do it, try out one of these four home improvement projects for the fall. Once you tackle this list, check out our ‘5 Home Improvement Projects for the Fall‘ and try your hand at those.
And as always, if you’re in the market for some new hand tools to get you through the autumn, look no further than our selection of high-quality and affordable tools at 100% Made in the USA Bully Tools.
Get the job done right, the first time, with some Bully Tools.