How to Tear Up Your Summer Garden and Get Ready for Next Year
Sadly, the time has come to say goodbye to your vegetable garden. We hope that you got the most out of this year’s growing season whether you grew fruits, vegetables, or summer-blooming flora, and now, it’s time to get ready for the cool temperatures that have already started in our home state of Ohio.
If you plan to grow again in the same garden plot next year, there are certain steps that you can take now to save yourself time and effort come the spring. Plus, with all of the nutrients already in that soil, you have the perfect mix to kick-start your garden next year.
LEARN FROM THIS YEAR
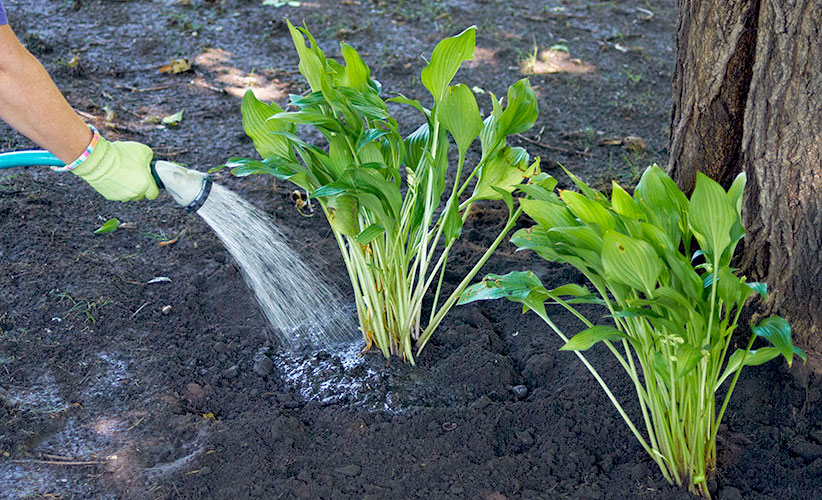
First things first, think about what grew well and what crops you would like to grow better next year. If you didn’t get the harvest you were hoping for this year, there are a few things that you can change up for the next growing season. First, maybe you positioned your garden in the wrong spot. A poor performing garden could be the result of inadequate soil conditions or improper sunlight. For example, a garden placed in the corner of your property seems like a great idea – you’re taking advantage of otherwise unused space – but if there are trees or bushes that block the sunlight during parts of the day, your garden probably didn’t receive the all of the nutrients from the sun that it needed. Most plants require 6 to 8 hours of direct sunlight during the day to survive but to be sure, thoroughly read the back of your seed bag or research your crop. For next year, watch your backyard to see where the most sunlight hits during the day. It’s also important to place your garden in an area that you see every day; this way you won’t forget to water, pick, and weed the plot because it’s very visible to you.
Also, note how well your garden patch drains moisture. A garden’s two best friends are sunlight and water, but too much of either can dry out or drown your plants. Too much water will prevent the pore pockets in your soil from holding oxygen, another vital ingredient to a well-growing garden. If you’ve noticed your soil this summer was always wet or water-logged, there are a few tricks gardeners swear by to prevent this. Similarly, if your soil is very compact, typically an issue if your backyard has clay soil underground, chances are you have poor drainage as well.
HOW TO FIX POOR DRAINING SOIL
- MIX IN COMPOST – Compost is full of rich, organic material, and by mixing this with your existing soil, not only will you get the added nutritional benefits, but it also creates pore spaces for oxygen to fill and water to run through.
- ADD SAND – Sand allows water to drain incredibly well because of the finite particles that it is composed of. But, sometimes this means that water can drain too quickly for your plants to absord the moisture they need. A nice compromise is to mix a quick-draining sand with your existing soil.
- BUILD YOUR GARDEN ON A SLOPE – This one’s a no brainer; positioning your garden on a slight grade or building mounds to plant in is an effective way for water to run down. ‘Hilling’ – as it is know in the agriculture community – allows water to soak into the base of the plant and drain without pooling.
- LAY MULCH OR WOOD CHIPS – Mulch is one of those miracle additives that can improve your soil overtime. Not only is wood a source of food for insects underground, but it protects soil from the sun, is effective in weed prevention, softens soil, and holds onto moisture well which will your plants from becoming waterlogged and quicken decomposition.
If you live in a region that experiences heavy rain in the spring and summer, you can test your soil’s drainage by digging a 1-foot by 1-foot hole and filling it with water. If the water drains in 10 minutes or less, your soil doesn’t need to be amended; if it takes between 10 minutes and an hour to drain, your soil is relatively well-draining and you may want to take minor steps to prevent waterlogging (plus in the summer, the hot sun will take care of a lot of the excess moisture), but if the hole takes more than an hour to drain, you will need to take more extensive measures – like the ones listed above – to prevent water from drowning your garden.
REMOVE PLANTS
Separate any diseased plants from the dead plants. Dead plants will do well in your compost pile, while diseased plants – either from grubs or bacteria – should go in the trash. You can usually gauge the health of your plants by their appearance. Many plant diseases will cause leaves or stems to sprout spots or grow powdery mildew. Earth’s Ally, an organic gardening product company, created a detailed article naming the cause and ways to cure many Common Plant Diseases.
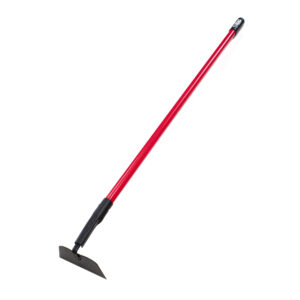
Once you remove the plants, you can move on to the weeds. If you collected all of the last edibles a month or so ago, and have left your garden to die, chances are there will be a myriad of weeds. Now that all of the garden soil is exposed, you can easily work the entire plot to rid the weeds. Use a garden hoe to gently push the base of the weeds to loosen them.
CLEAN CONTAINERS AND RAISED BEDS
If you didn’t grow your crops in the ground and opted for raised beds or a container garden, now is the time to scrap the dead plants and clean out your containers for next year. Container gardens are a great way to grow if you live in an apartment or condo, have inadequate soil, or have a shady backyard. Likewise, a raised garden, or a garden grown in a structure above the natural terrain, is an alternative to traditional in-ground gardening for these same reasons. The care and maintenance of your container or raised garden are similar to that of in-ground gardening, but you won’t have to deal with nearly as many weeds.
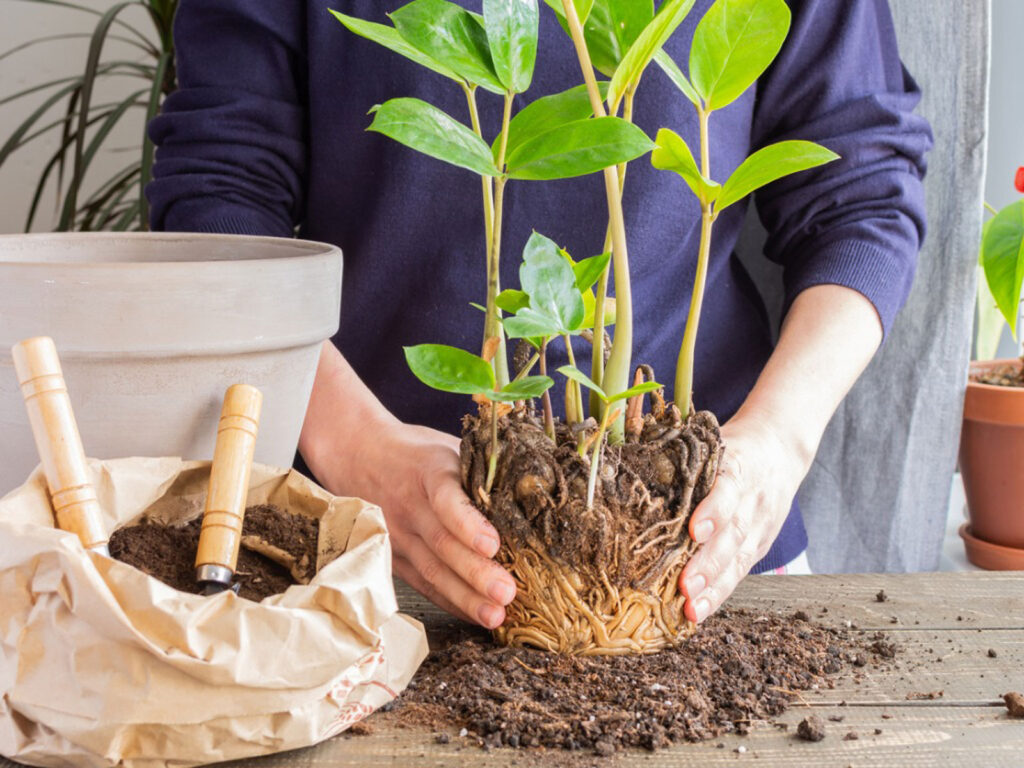
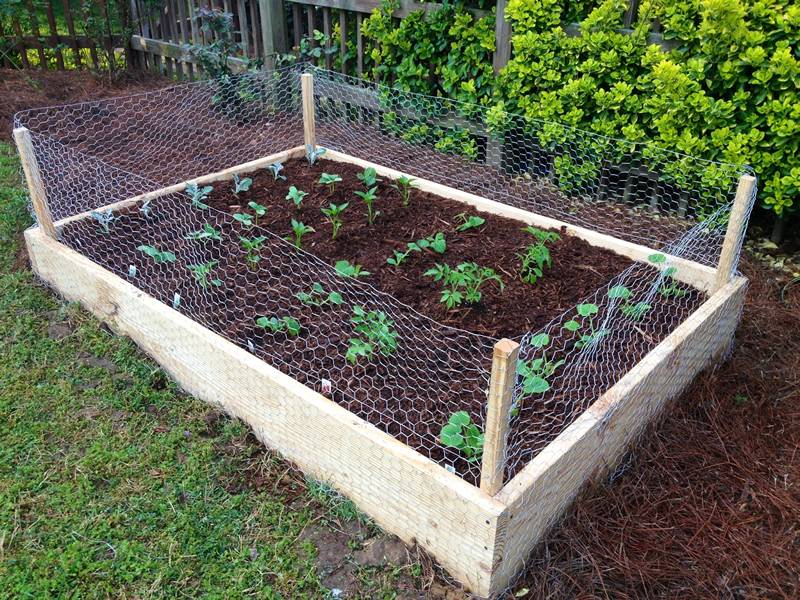
Once you decide it’s time to retire your potted plants, you should remove the crop with its soil and clean the containers. Make sure to remove all roots, grubs, and drainage stones, and wash the pots with soapy water to remove any stuck-on dirt or leaves. For raised beds, remove all plants and weeds and cultivate the plot as you would an in-ground garden.
A common question among container gardeners is ‘Can I reuse this garden soil next year?’ It’s definitely possible; after all potting soil is expensive and if you grow in a lot of containers, the cost can pile up. If you want to reuse the soil, you will have to take a few steps to sterilize it and restock the nutrients. Over the summer, as your plants grew, much of the nutrients were used up or washed out by water.
HOW TO RESTERILIZE POTTING SOIL
There are a few methods to choose from – Better Home’s and Gardens has a full guide if you want more information – but it’s important to note that you will need to ‘bake’ the soil and then refertilize.
- SOLARIZING – Solarizing involves placing the soil in closed 5-gallon buckets or black garbage bags and placing them outside for 4 to 6 weeks to heat in the sun. The heat will kill any diease causing microbes or organisms that will harm future plant growth. At the end of the 4 to 6 weeks, you can store your refreshed soil by placing them in containers, garbage cans, or the buckets you used to solarized (covered, of course) and combine with equal parts fresh potting soil or one part compost and 3 parts old soil to regain nutrients and prevent soil compaction. Keep these containers in an area where you will remember to use them next spring. You can also use solarized soil in your garden beds next year too!
- BAKE IN OVEN – If you’re okay with a strong odor wafting through your home, you can get much quicker sterilization results by baking the soil in your oven. For this method, set your oven to 180-200 degrees and cook your soil on an oven safe pan covered with tinfoil for 30 minutes. After a half-hour, remove the pan and keep covered until cool. Store this soil in buckets or containers with equal parts fresh potting soil or one part compost/three parts old soil until you’re ready to use.
- MICROWAVE – An even quicker method is to microwave your soil. Use quart-sized, microwave-safe containers and heat the soil for 90 seconds per two pounds of soil. The containers should be covered, but lifted on one side to ventilate. After 90 seconds, reseal the container and allow it to cool. Store soil in buckets or containers, again, with equal parts fresh potting soil or one part compost/three parts old soil until you’re ready to use.
These three methods will kill any harmful pathogens alive in the soil, and the added fresh potting soil or compost will help to rejuvenate the sterilized soil’s lost nutrients. Alternatively, you can add a dose of slow-releasing fertilizer pellets to equal parts old soil and new potting soil based on the fertilizer’s package directions.
COMPOST
Fall is the perfect time to start composting if you haven’t already. Compost is organic material commonly found in everyday waste like food scraps and lawn trimmings that if composted and placed around a plant properly, encourages the growth of beneficial bacteria and fungi and enriches soil which will aid in your plants’ growth.
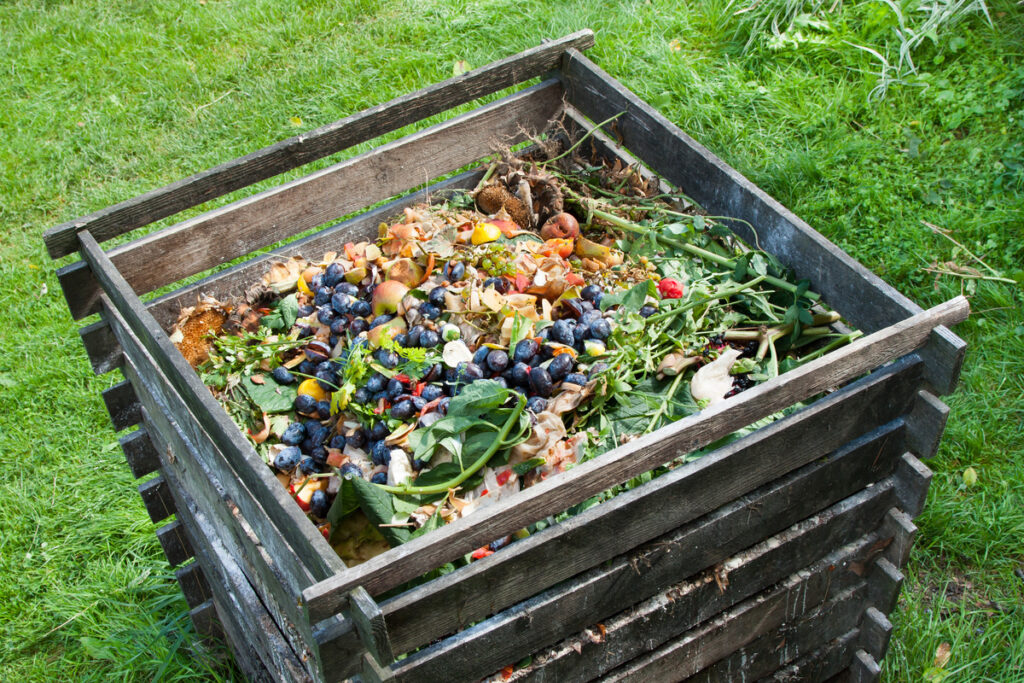
Composting at home is as simple. The EPA outlines three basic composting ingredients: browns like dead leaves, branches, and twigs; greens like grass clippings, vegetable and fruit scraps, and coffee grounds; and water. You don’t need to waste money on fancy fertilizers to get the same results! So, not only is composting beneficial to the environment because of the way it organically enriches the soil, but it’s also a way to get rid of waste without it ending up in a landfill.
It’s important to alternate the layers of your compost, have an equal amount of browns to greens in your compost pile or bin, and house it all in a dry, shady spot outside. You can also compost inside your house with a specialty indoor composting bin like this one from simple human.
GET READY FOR NEXT YEAR
You can save yourself time next growing season by preparing your garden plot now. Not only that, but it’s a nice way to wind down this year’s yard work, and you’ll get to spend some time outside this fall without the hot sun beating down on you. Some gardeners choose to prepare their gardens a few weeks before the start to plant, but by doing so in the fall, your soil will have ample time to absorb the new nutrients over the winter.
Follow these three, easy steps to preparing your garden soil:
- CLEAR OUT ROCKS, DEBRIS, AND WEEDS FROM YOUR SOIL – To start, make sure that the area is free of rocks, sticks, roots, or any debris. As mentioned in our ‘Rip it Up’ section, you’ll need to remove the exisiting dead plants and seperate them from any diseased crops. If your garden is surrounded by trees, be sure to rake away any fall leaves that could layer and prevent water and oxygen from reaching the soil underneath.
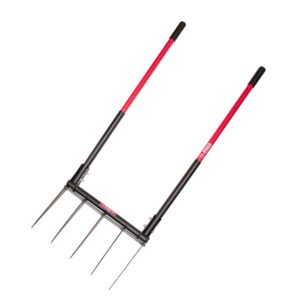
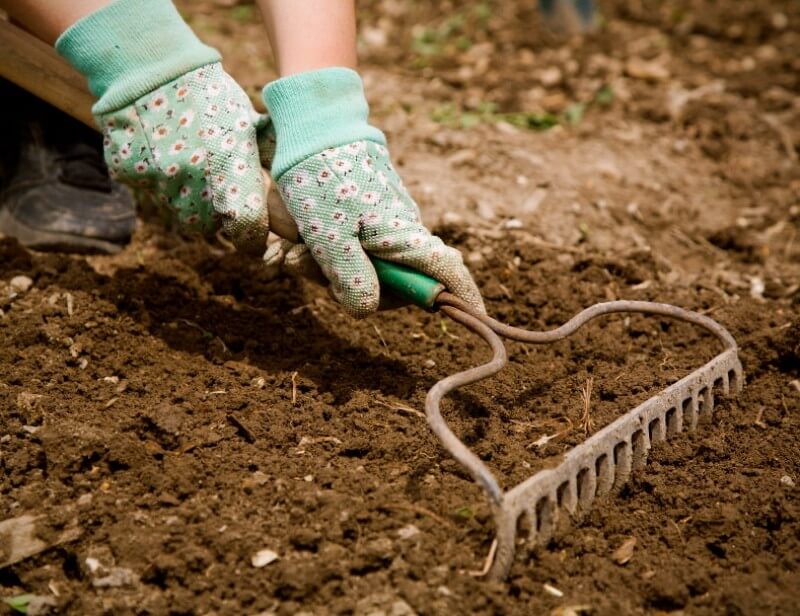
- LOOSEN THE SOIL – Now that the area is free of unwanted debris, use a garden hoe, broadfork, or your favorite tilling tool to loosen the top 8 to 12 inches of soil so that when you plant, the roots will have space to sprout and grow.
We advise all of our readers to choose hand tools over gas and oil powered ones because hand tools won’t destroy the delicate soil structure of a garden plot like rototillers do. The blades of this machine move so fast and mix too much that they bring important soil bacteria and microorganisms to the top layer, exposing them to so much sunlight, oxygen, and water that they lose the benefits that they’ll later provide to your plants’ roots. Not to mention, a rototiller can break and spill gas or oil into your soil creating problems much greater than anything biological (plus, you’ll kill the earthworms). A broadfork or garden hoe won’t do this, and you can find out more about the benefits of a broadfork here. - ADD ORGANIC MATERIAL – Your garden soil will lack nutrients after the summer bloom. In order to revitalize those lost nutrients, you can prepare for next year by spreading at least 2 to 3 inches of compost or manure on top of your soil. You can either mix this material into the soil or leave the compost on top to preserve soil structure and avoid pulling up weed seeds. If you’re worried about choosing the latter, don’t worry – worms and other underground insects will pull the nutrients through eventually. Inorganic material like fertilizer, lime, or sulfur should only be added if recommended by a soil test or if determined through additional research on your home’s specific type of soil and the conditions preferred by your plants.
FINAL THOUGHTS
It’s always sad seeing summer come to an end, especially if you like to grow, but if you don’t want to hang up your garden tools quite yet, there are a lot of ways to prep your garden plot in the summer to save you time next spring. It’s also important to prepare your lawn for the fall and winter, and if you’re curious about how to do that, feel free to read our ‘How to Transition Your Lawn from Summer to Fall‘. Here, we talk about reseeding bare grass spots, fall fertilizing, aeration, and more.
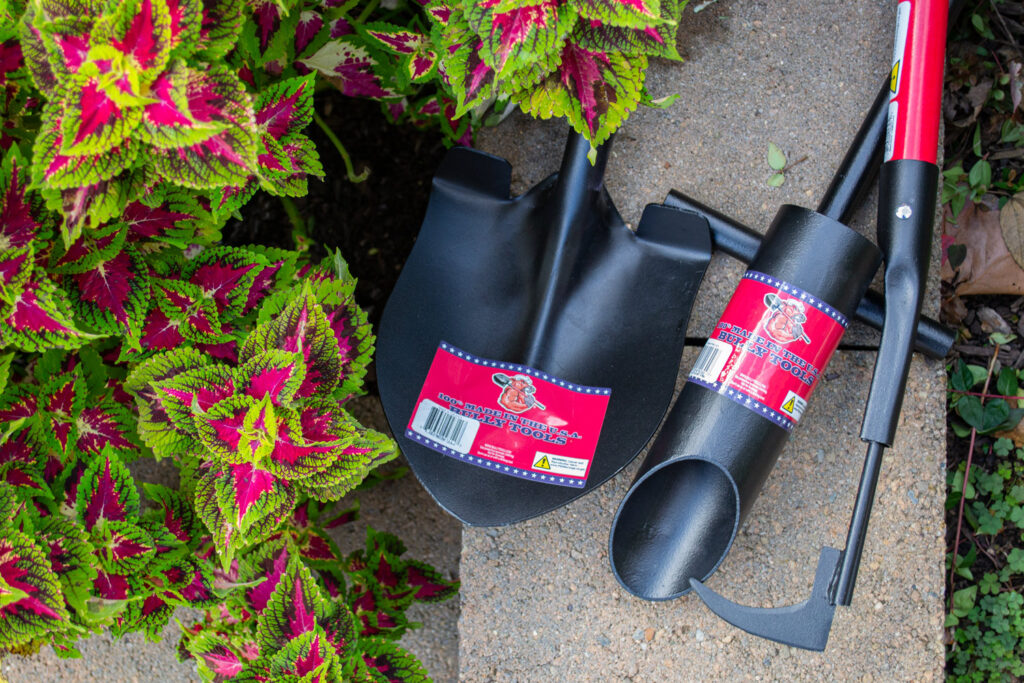
Good luck with the fall and winter preparation, and as always, if you’re looking for new lawn tools to help tackle any of these projects, check out our selection of high-quality lawn and garden, snow and ice, and specialty Bully Tools.